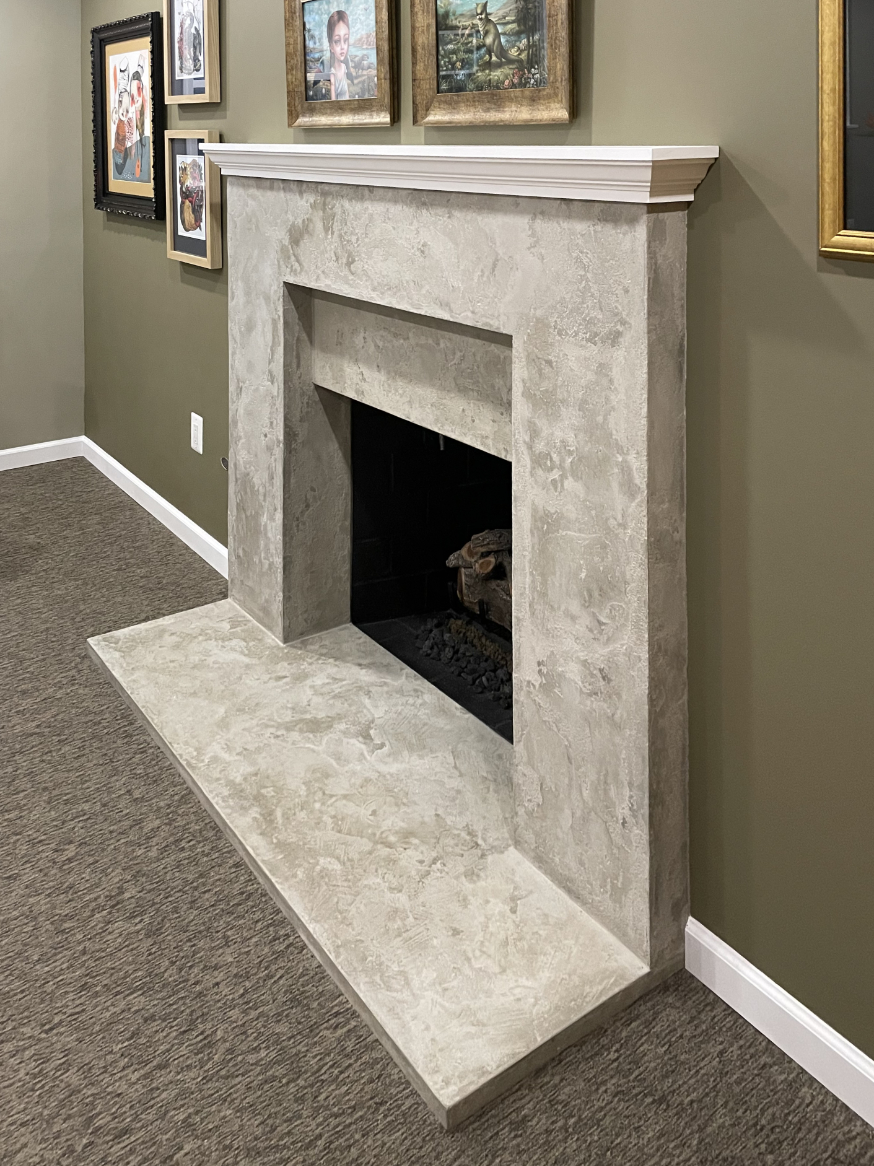
Concrete Fireplace
A Project From 2022
THIS IS ONE OF TWO PROJECTS I’ve broken out of the overall family room remodeling project.
When we bought our townhouse in 1998, a selling point was that it had a fireplace. Karen really wanted a fireplace. The smoky residue under the mantle might have been a clue, but as it turns out, this particular fireplace sucked. Or more accurately, blew. As in smoke — back into the family room every time it was ignited.
I should qualify that. If you decided to have a fire some blistering evening in the middle of July, it would probably perform fine. But on chilly winter nights, it was very difficult to get the column of cold air piledriving its way down the chimney to make a U-turn and take the smoke with it. We had to keep a window open to help the draft, and still, we were met with a 20-minute smokescreen every time we lit a fire. I think we used the fireplace less than 10 times in 20 years.
When we remodeled the family room, we decided to convert the fireplace to natural gas. We hoped instant high flames would, at a minimum, help the draft cycle quicker. I should add that just prior to remodeling, the brick face of the fireplace literally fell off the wall onto the floor. Okay. I gave it a bit of a push, but it had been progressively leaning for years. Something needed to be done with the fireplace, regardless of remodeling.
At first, we were simply going to hire a brick mason to rebuild the fireplace face as it was. But I wanted the family room to have a more contemporary look, and I had been watching a lot of videos about using concrete as a vertical surface material, so I decided to construct a concrete fireplace face. Solid concrete would have been nice, but out of my league, technically. Instead, a framework of steel studs was constructed. I attached the framework to the family room’s concrete block wall with the same thick rubber compound we had used to waterproof it. To the steel framework, we attached Hardie Board, the same stuff often used in bathroom settings. It’s cement infused and fireproof. Then, many, MANY skim coats of cement were applied to make the entire structure look as though it was cast in one piece.
The hearth was another challenge. Originally, it consisted of bricks embedded into the poured concrete floor. The issue was that one end protruded about ¼ inch from the floor, and the other end, about ¾ inch. I ended up carving part of the concrete floor away at the shallow end with an angle grinder and then building up the floor at the other end to get the hearth “level.” Then a mold was placed around the bricks and cement was poured into the mold creating a solid hearth about 1¼ inches thick.
Now, we burn that sucker all the time. At least until the first gas bill of the season arrives.

All done


